Where did it all start?
I'm not sure exactly where I first got the notion, but I wanted to try my hand at playing with some precious metal clay as I've seen some great things made with it around the interwebs. Having said that, it all looked very practised and perfected, so I wasn't hoping for great things to transpire right off the bat, but no harm in having a go.
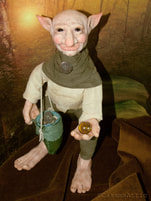
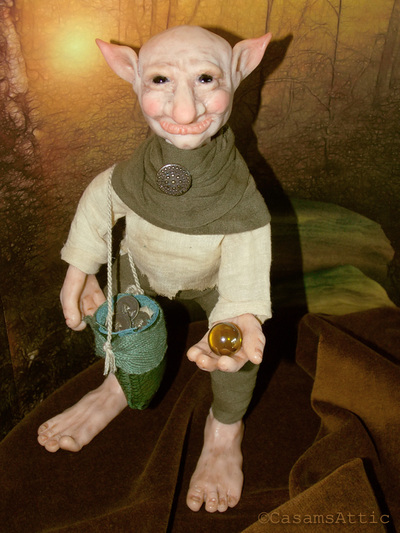
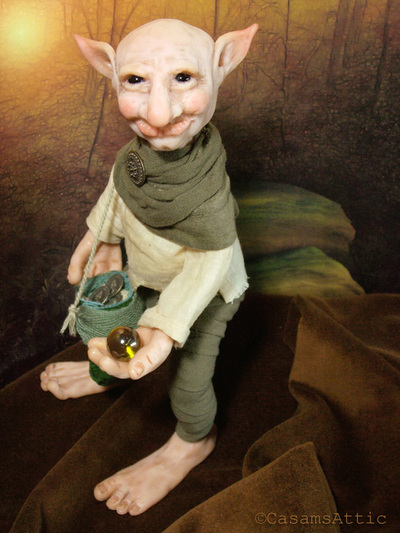
(Click any image in this article to view larger) 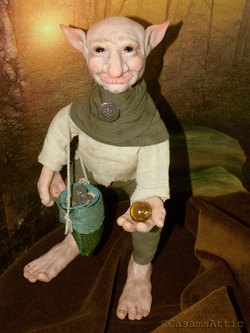 Ordwyn The Gathering Elf - my first sculpture Ordwyn The Gathering Elf - my first sculpture
To play it safe I thought my best bet was to start with the much more cost effective polymer clay, having never sculpted or moulded anything of significance in my life! So whilst in our local branch of The Range I grabbed a couple of blocks of Fimo to have a mess around with.
Back home with my goodies I then venture onto Amazon to see if there were loads more "necessary" goodies I "needed" to add to my stash in order to have maximum fun with this new found fixation; and that's where I clapped eyes on Faemaker by Dawn Schiller. This colourful covered book immediately drew my attention like a sparkly thing with it's adorable fantasy characters that looked so well made. Following on from the book I then spotted a 1lb box of Super Sculpey. Having a very quick play earlier with the Fimo I had bought led me to feel it was a little rubbery to work with, small details and indentations seemed to "heal" themselves a bit; the reviews on Super Sculpey seemed to sing it's praises so into the basket it went. Yay for prime delivery, the very next day the extra goodies were at my door... let playtime begin! In the begining was a head...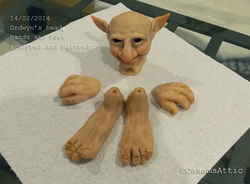 Ordwyn and his extremeties Ordwyn and his extremeties
So with my book at my side and a big old lump of clay conditioned, warmed and ready to use I start following the instructions to form a basic head. Using a couple of glass boot buttons from my stash for the eyes and some blobs of clay placed diligently where shown, the lump actually starts to look like something! After more blobs of clay are added, pushed, poked, squeezed and smoothed to within an inch of their life ...waddayaknow... there's a real little face!!!
It's worth mentioning at this point that despite having a basic plastic set of sculpting tools, other than a cutter type thingy, I didn't use any of them. For me personally it was easier to "feel" the clay with my fingers and shape, also finding that using only the lightest touch did a grand job of blending added blobs at the edges or final smoothing. The one thing I did find invaluable was a set of three ball ended styluses I'd bought previously for embossing card and paper. With a range of sizes in the set, these made wonderful little gizmos for creating lines or indentations, poking holes, and perfect for getting into the little corners where my fingers were just too fat to go. Now with confidence building his hands and feet followed close behind the construction of the head. The hands went smoothly, starting with a single lump of clay divided into two equal parts it wasn't too daunting to get them to look like a pair. So after this success why didn't I do the same for the feet? Because I went right into the cheddar-flipper zone and created a whole foot like a muppet. I then had a ***** of a time trying to match foot number two; it was too fat, it was too long, then it was too thin! Okay novice lesson learned after playing around with this second foot for far too long , thankfully, it eventually took shape (and size!) *My handy hint: If you're making a pair of somethings start with one piece of clay and divide it **head-desk** :D At this point my other-half thinks it's totally scary, is completely un-nerved by it and gives it a wide berth each time he has to pass me to go to the kitchen, so the only right and proper thing to do was totally freak him out and bake it in the oven. Ha! After cooling I used very watery colourwashes of acrylic paint with a "paint on / wipe off" technique to build up the shading and skintones. Building the bones...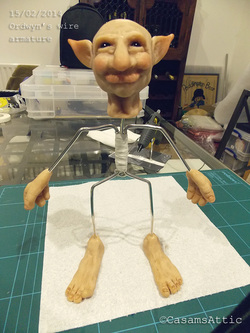 A simple skeleton A simple skeleton
So now we're into body-building, not the muscley variety though hehe.
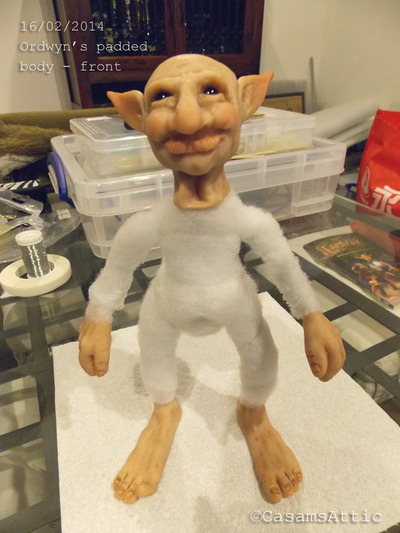
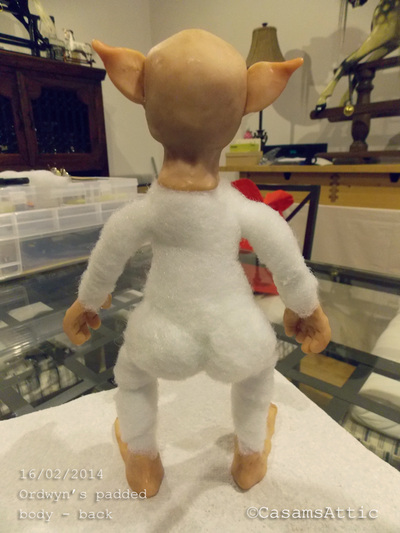
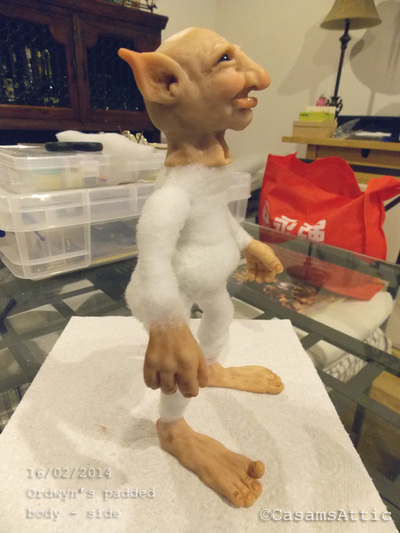
Following the instructions for creating a wire armature I found this part to be straightforward, well okay I may have had a little help from hubby to avoid chopping my fingers off with wire cutters; but that aside the directions are clear and the measurements provided mean that you end up with a nicely proportioned figure once the hands and feet are added to the limb length. The next step was to flesh him out so to speak. Armed with my hot glue gun (hmmm... so I can burn myself but not cut myself eh!) I wound and glued some long lengths of quilters batting to the wire skeleton. It was actually the pretty thick stuff but it worked out okay as I was then further able to needle-felt to it a tummy bulge and sqidgy butt cheeks using loose polyester fill. You can see this in the mini gallery of pics below, and okay I agree maybe the butt cheeks and belly button weren't entirely necessary, but I would have felt very mean depriving him of them. Now he really has taken shape... albeit an odd one :) Meat on the bones...
And there he stands!
Finally it came time to get him dressed. I really enjoyed creating a little costume for him. Using just odd scraps of fabric for his clothes, a little leather, string and webbing for his bag; all topped off with some tiny coin charms and a marble. So now he's standing there looking like a real little elf... and I must say he certainly looks pleased with himself finding one of the marbles I've lost. I can see it's definitely going to be quite useful having a gathering elf about the house!
My Shopping list for this project...
Here's just a few of the items that can be purchased from Amazon that I used in this project:
Tags: elf. elves, fantasy art, sculpture, polymer clay, sculpey, super sculpey, art dolls UK
0 Comments
Your comment will be posted after it is approved.
Leave a Reply. |
CategoriesA little note from the author...You can follow me if you like but I don't know where I'm going!
This little blog is an outlet for my ramblings, my ongoing projects - be they success or a total fail and any other musings I decide to document along the way. Affiliate DisclosureThis site participates in the Amazon and Zazzle affiliate programmes... learn more |

